How I Remix Any Prompt Into Something New
The Third Door
In Tutorial #1, I showed you that I never start with a prompt — I start with a reference image, extracted tags, or someone else's prompt and build from there.
Tutorial #2 covered the first two starting points: reference images and tag extraction.
This tutorial is the third door. Starting from a prompt you found somewhere and turning it into something completely different.
This is probably how most of you work right now — you find a prompt on Civitai, copy it, hit generate, and hope for the best. I do the same thing. The difference is what happens next.
Step 1: Grab the Prompt
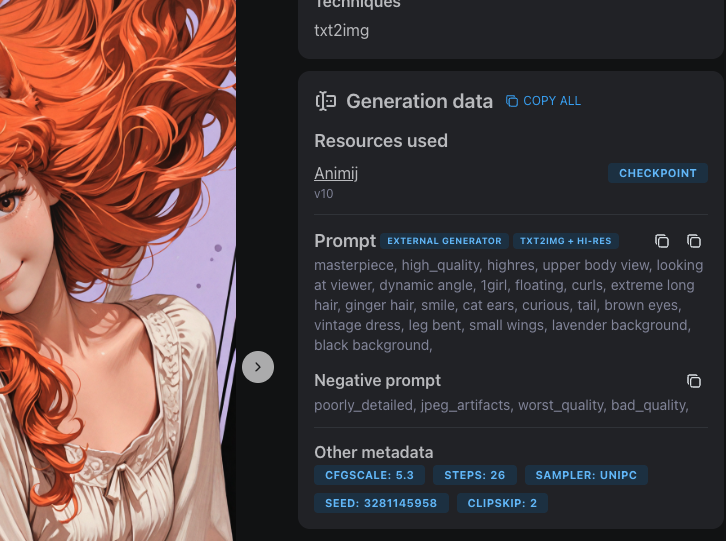
I find prompts everywhere. Civitai mostly — when I'm scrolling through images and something catches my eye, I click through and look at the generation data. Every image on Civitai shows the full prompt, model, sampler, CFG, everything.
Sometimes I grab prompts from my own old generations. Sometimes I write one from scratch based on a concept in my head. Doesn't matter where it comes from. The point is: I never use it as-is.
The prompt I grab is just raw material. A starting point. What matters is what I do with it.
Step 2: The Enhancement Pass
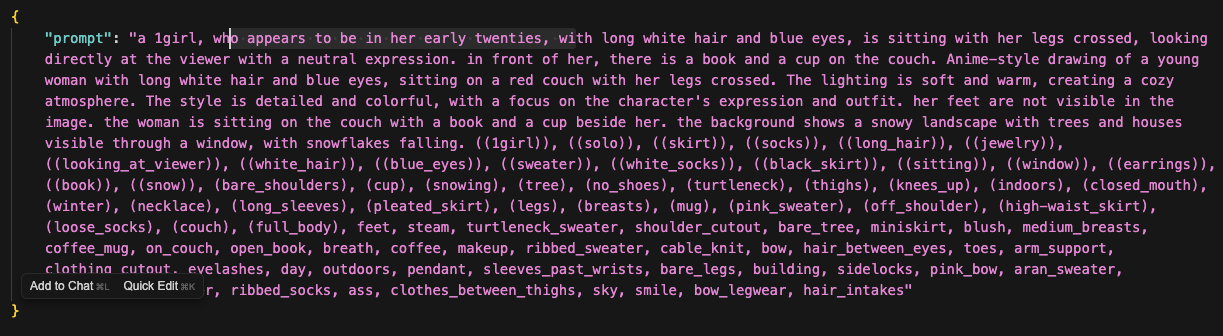
Before I touch the splitter, I run the prompt through my enhancement prompts — a set of meta-prompts I use with Claude or ChatGPT to upgrade the raw prompt.
The original prompt is usually flat. Generic lighting, no atmosphere, no material detail. The enhancement pass fixes that.
I run it through multiple passes, each one focused on a different dimension:
- Lighting pass — adds specific lighting setups. "Dramatic rim lighting" becomes "molten copper rim lighting with dusty volumetric shafts through atmospheric haze." Flat daylight becomes golden hour with warm subsurface scattering.
- Composition pass — improves camera angle, framing, depth. Adds things like "shot from slightly below, negative space above, shallow depth of field with bokeh."
- Color and material pass — replaces generic colors with specific ones. "Blue dress" becomes "slate periwinkle dress with raw silk texture." "White hair" becomes "champagne platinum hair with burnt sienna backlight."
- Trim pass — removes duplicate tags and anything that contradicts itself. The other passes sometimes add overlapping concepts, so this cleans it up.
The order matters. Lighting first, then composition, then color/material, then trim. Each pass builds on the last one.
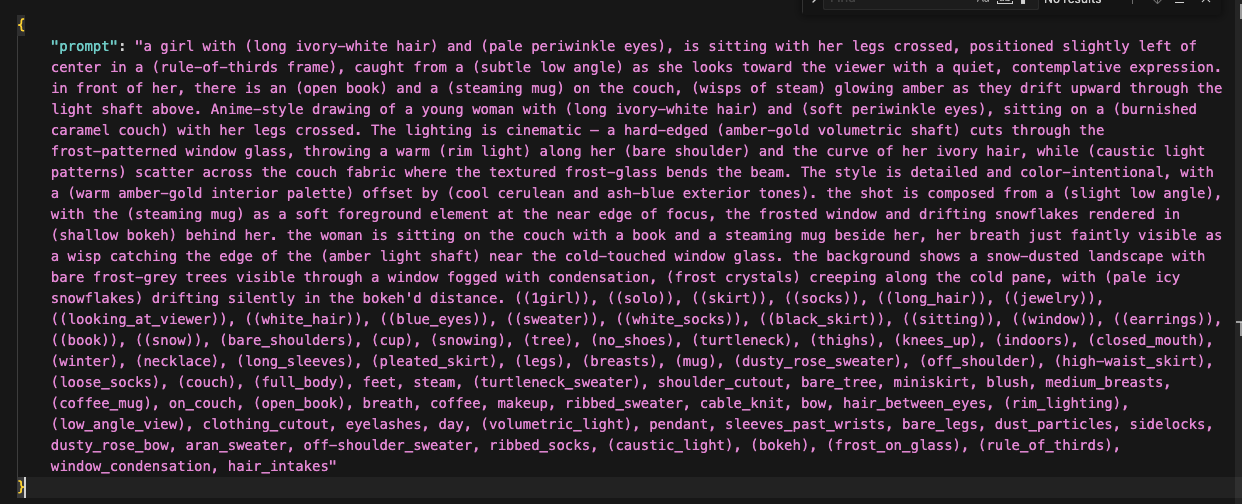
After 2-4 passes, the prompt has gone from a flat list of tags to something with atmosphere, mood, and specificity. This is the step that separates "AI-generated image" from "image with a vision behind it."
Now it's ready for the splitter.
Step 3: The Splitter
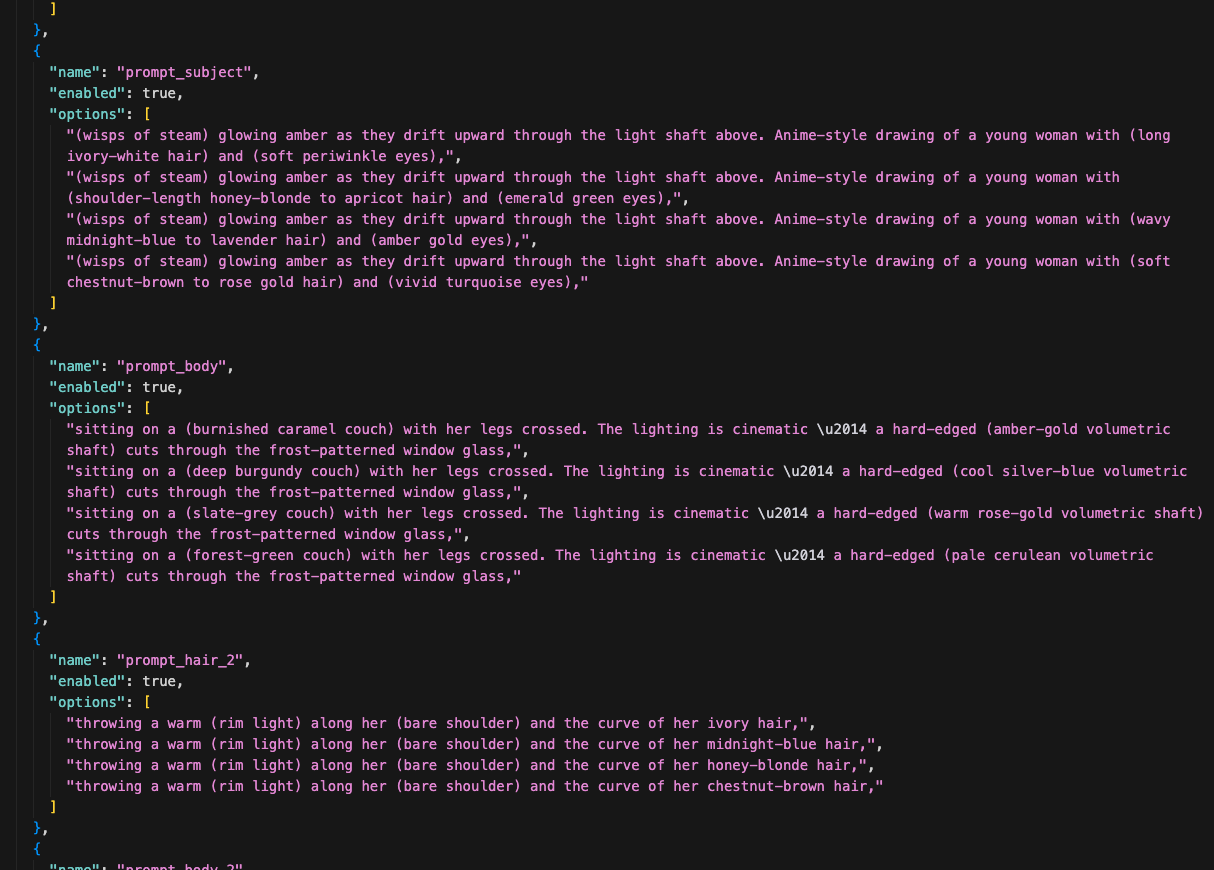
Now the enhanced prompt goes into my prompt splitter — a script that breaks the prompt into a JSON recipe file.
The splitter takes the long prompt and chops it into named slots: prompt_hair, prompt_pose, prompt_composition, prompt_expression, and so on. Each slot has an options array — a list of alternatives that the generator will cycle through.
Here's what the output looks like:
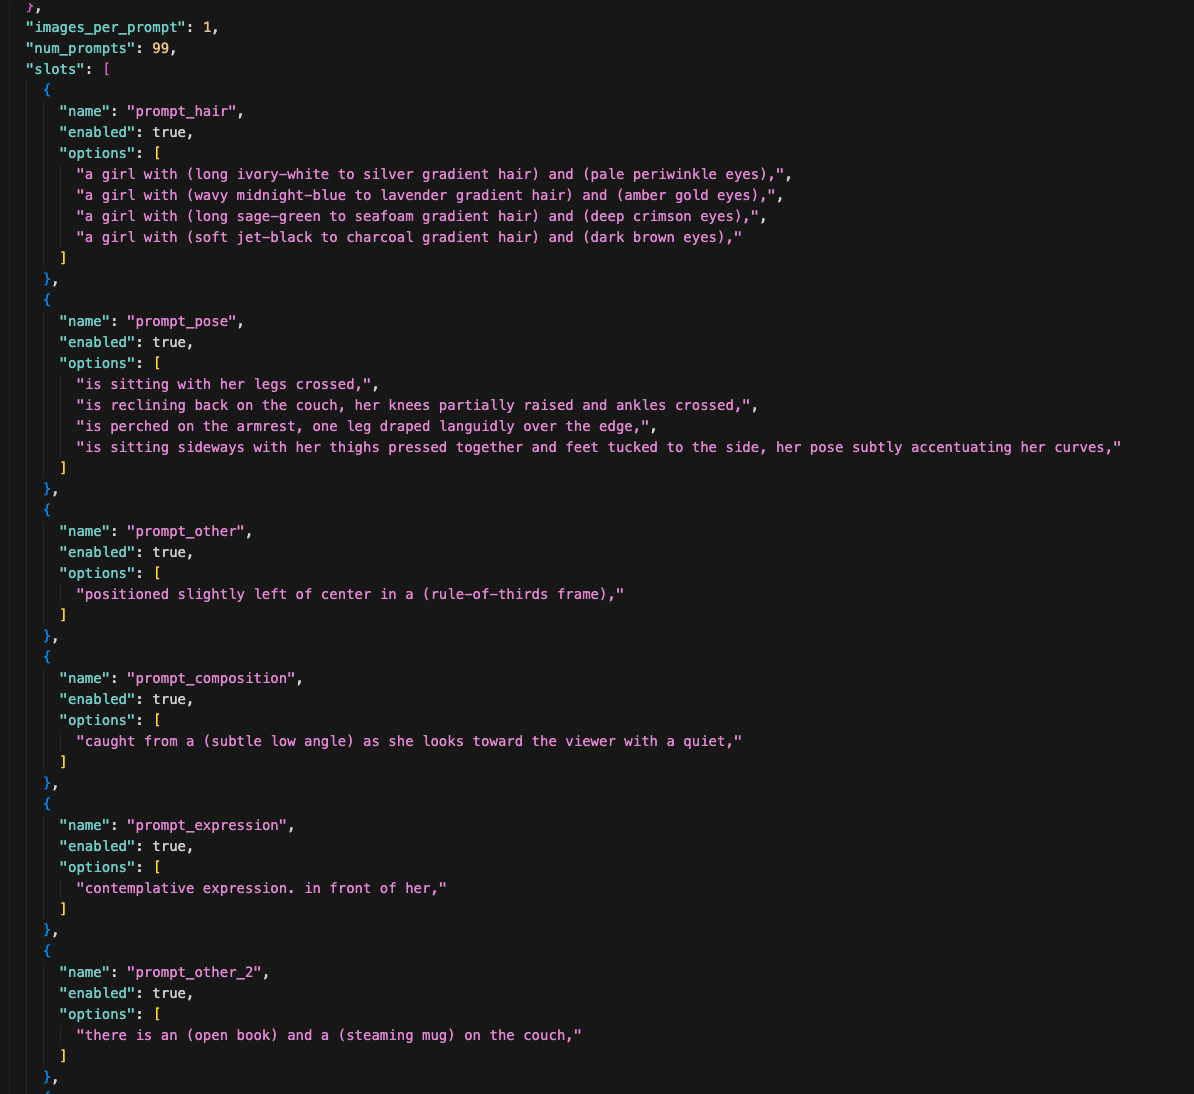
See how prompt_hair has 4 options — ivory-white, midnight-blue, sage-green, jet-black? And prompt_pose has 4 different sitting positions? During generation, the script picks one option from each slot randomly and combines them into a complete prompt. Every image gets a different combination.
Some slots only have one option — like prompt_composition or prompt_expression. Those are things I want to keep consistent across every variation. The slots with multiple options are the things I want to experiment with.
The recipe also sets num_prompts: 99 — that's how many unique combinations to generate in this batch. I also load in all of my checkpoints and LoRAs, so the generator cycles through those too.
This is the core of the whole system. One recipe file produces hundreds of unique images without me writing hundreds of prompts.
Step 4: Edit the Slots
Now I go through every slot in the recipe and decide what to change.
The splitter gave me a starting point, but most prompts have boring parts — safe defaults that don't push the image anywhere interesting. This is where I rewrite them.
Sometimes I replace a slot entirely. If the original subject description is generic, I'll scrap it and write 4 completely different options — different hair colors, different eye colors, different vibes. Sometimes I just swap one word — change a couch color from "caramel" to "burgundy" or "slate-grey" or "forest-green." Sometimes I rewrite the whole phrase to take the concept in a new direction.
There's no rule for how much to change. It depends on the prompt. The goal is: every slot with multiple options should produce a noticeably different image. If two options would look basically the same, one of them is wasted.
The stuff I keep the same — composition, expression, camera angle — that's the core identity of the image. I'm not trying to make completely different images. I'm trying to explore variations of the same concept.
Step 5: The Low-Res Blast
Now I have a prompt with maybe 4 background options, 4 hair colors, 5 outfit styles, 4 poses, 5 checkpoints, and a bunch of LoRAs mixed in randomly. The math explodes fast — that's potentially thousands of unique combinations.
I run this at low steps and slightly smaller images. Not full quality. I'm not trying to make finished art yet — I'm scouting. Seeing what the combinations look like. Finding the direction.
The splitter fires off hundreds of images. Every combination it can hit in the time I give it.
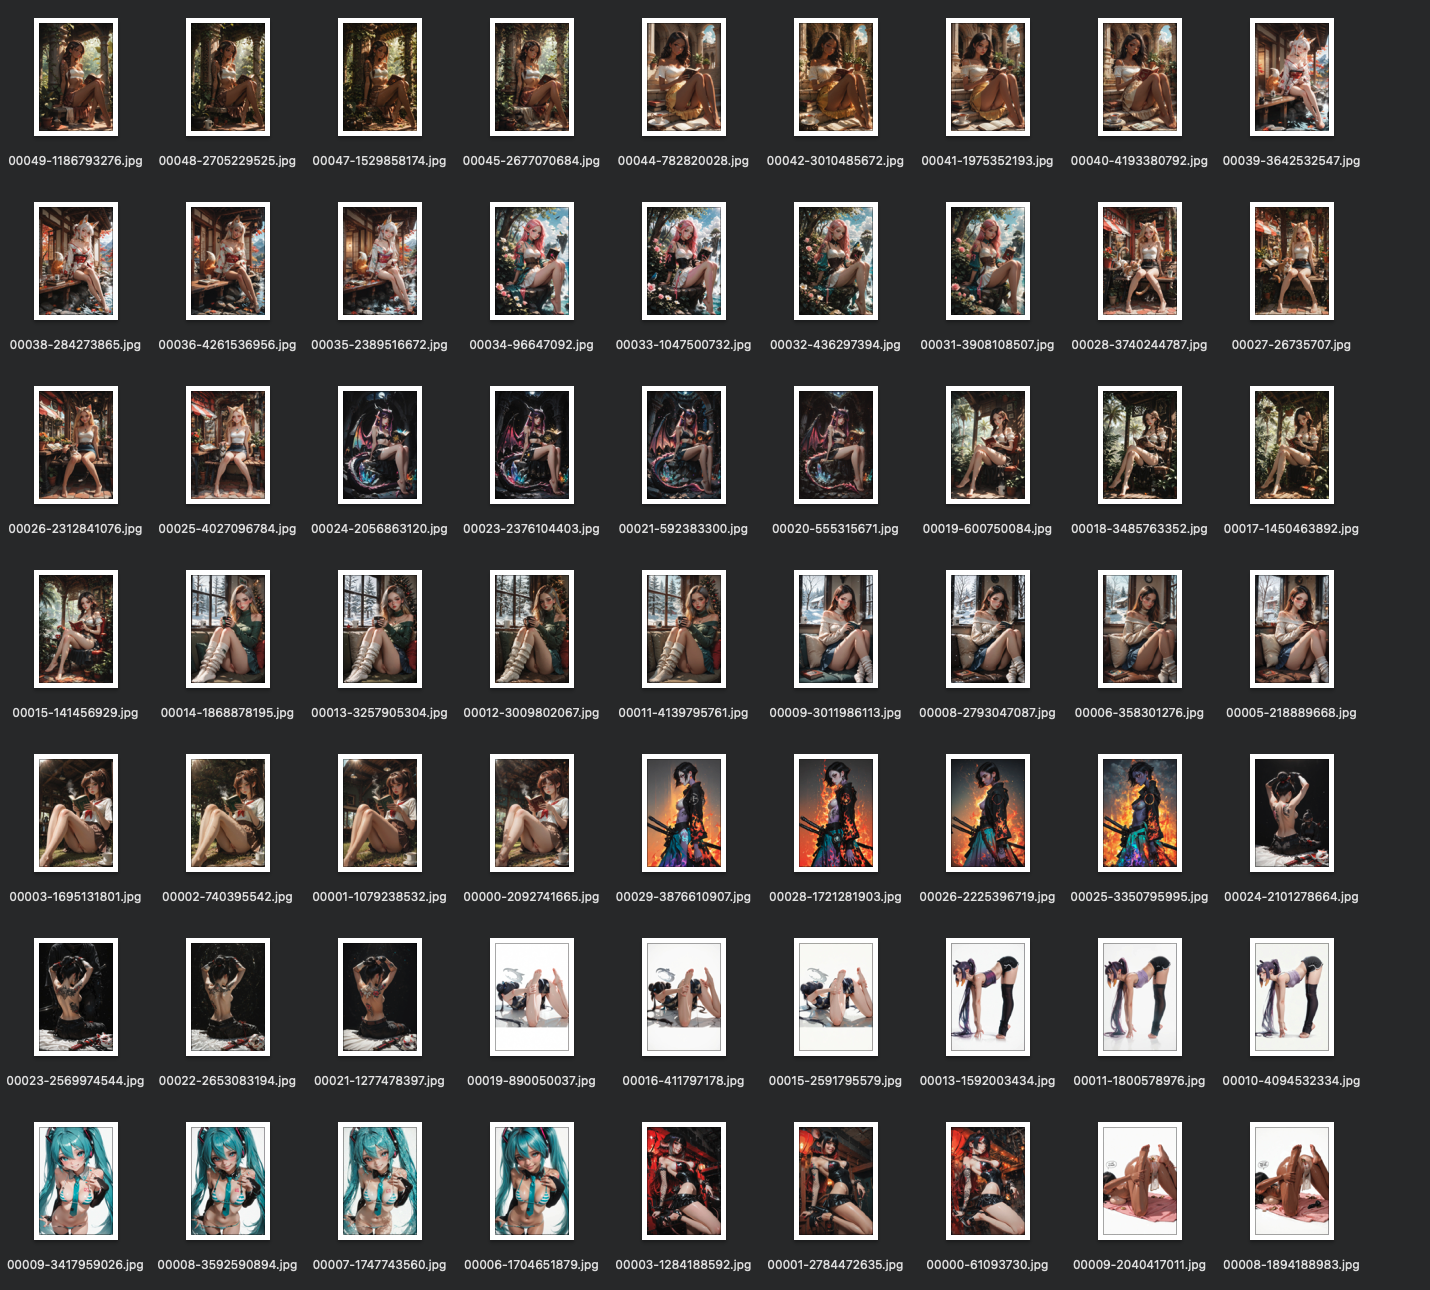
Step 6: Read the Patterns
This is the part nobody talks about. You don't just generate and pick. You generate, look, and steer.
After the first 100-200 images come through, I start seeing patterns:
- "The green hair looks terrible with every checkpoint. Cut it."
- "The cyberpunk background works way better than the temple. Keep it, drop the others."
- "The kimono outfit is producing the best compositions. Double down."
- "That one LoRA is overpowering everything. Lower the weight or remove it."
So I go back into the splitter and edit mid-run. Remove the things that aren't working. Add new variations based on what IS working. Maybe I saw a color combination I didn't expect and now I want to explore that direction more.
This back-and-forth is the actual creative process. The AI generates, I react, I adjust, it generates again. It's a conversation.
After about 500 images total across a couple rounds of adjustments, the direction is locked in. I know what works.
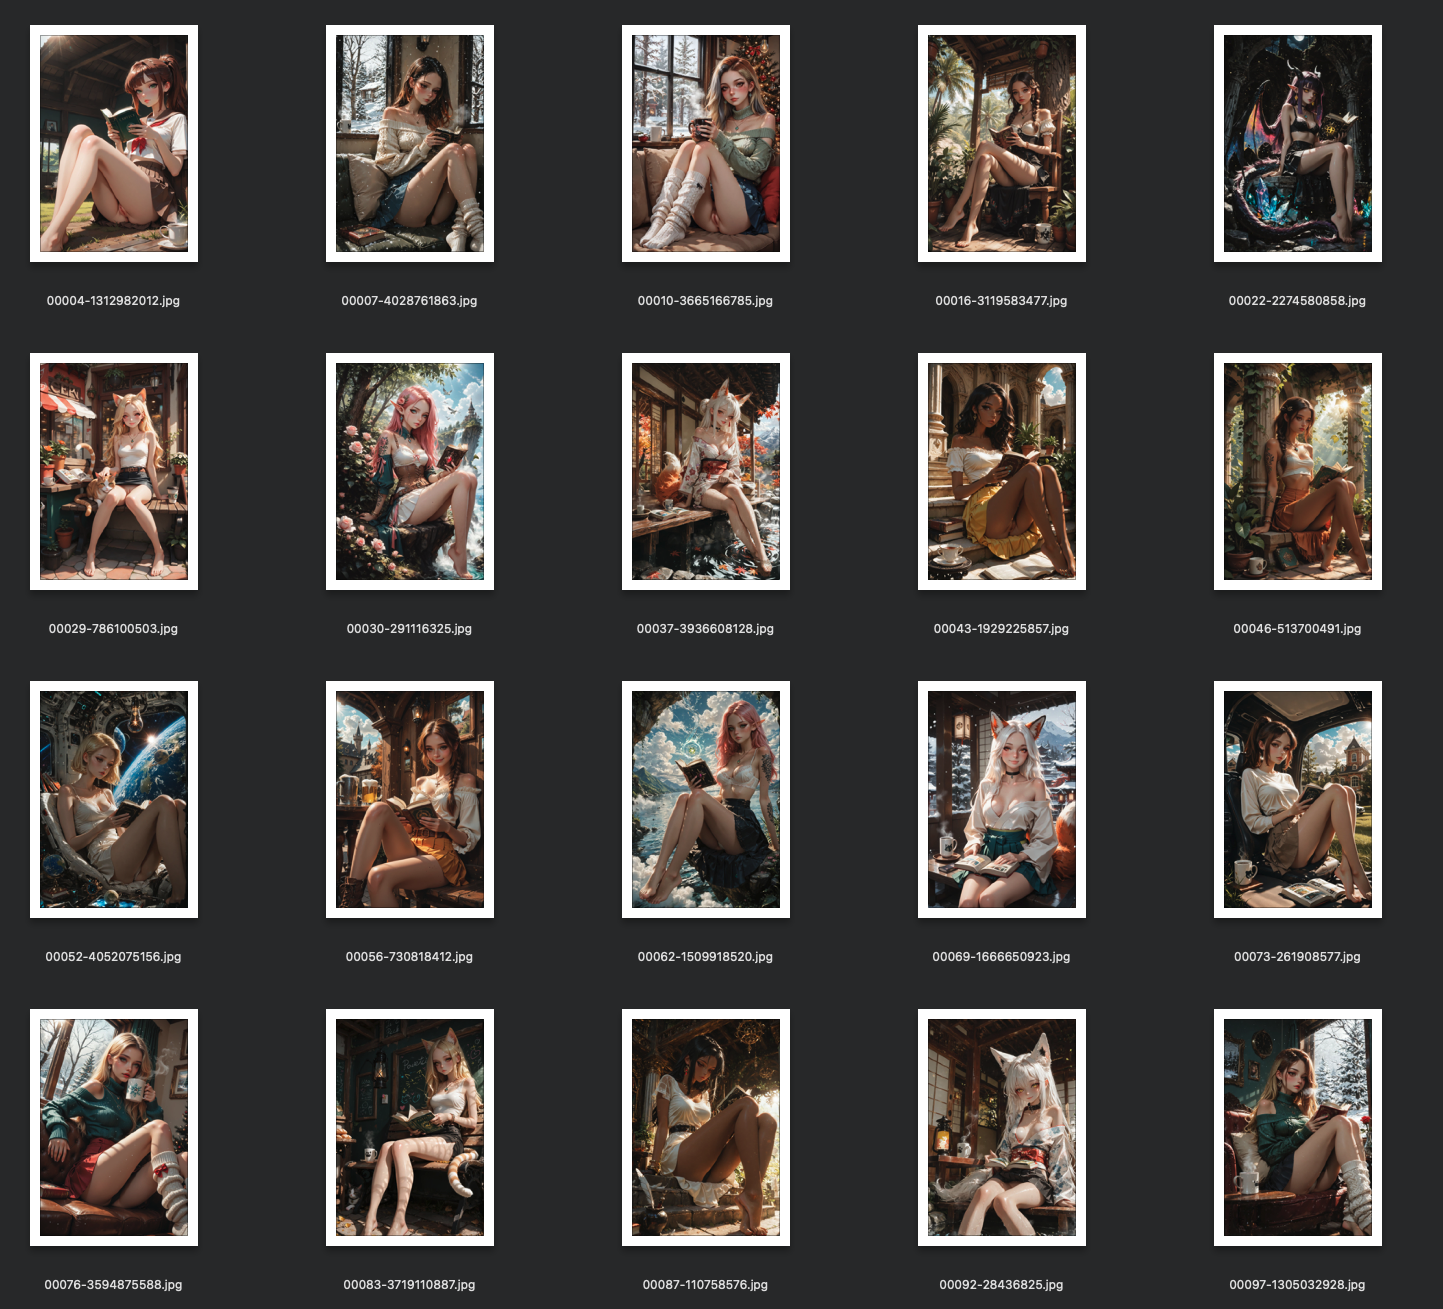
Step 7: Pick the Favorites
Now I scroll through everything and pull out the winners. Out of 500 low-res images, I'm looking for maybe 20-30 that have something — good composition, interesting expression, a color palette that pops, a pose that feels natural.
These don't need to be perfect. They're low-res scouts, remember. I'm picking based on potential, not finish quality.
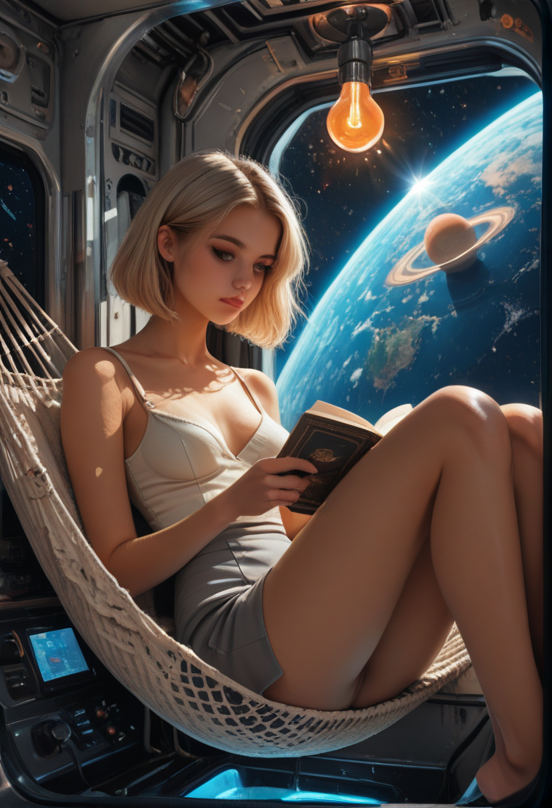
Step 8: The img2img Spiral
This is where it gets obsessive. I take my favorites and run them through img2img — feeding the image back into the AI with an enhanced prompt to add detail, sharpen features, improve lighting.
But I don't just do one pass. I do rounds.
Round 1: Take my 20-30 favorites, run img2img across multiple checkpoints. That gives me a few hundred new versions. Pick the best from those — maybe 10-15 survivors.
Round 2: Take those survivors, tweak the prompt slightly, run img2img again. Another hundred or so images. Pick the best again — maybe 8-10.
Round 3: Same thing. More refinement. Fewer images each round, but higher quality. By now I'm down to maybe 5-6 that I'm really excited about.
Round 4 (maybe): Sometimes I do one more pass if I'm close to something great. Sometimes I stop at round 3.
Each round is a funnel. Hundreds become dozens become a handful. Every round adds more detail, more polish, more of my specific vision layered on top.
Step 9: Done (or Done Enough)
Eventually one of two things happens:
-
I land on a few images I love. They go to Civitai with full metadata. They go to otakushowcase. Maybe the best one goes to the favorites folder as future reference material.
-
I get tired of this concept. Not frustrated — just ready to move on. I've been looking at variations of the same character for hours. I save the best of what I have, post them, and tomorrow I start fresh with a completely different prompt.
Both are fine. The point isn't to force a masterpiece out of every session. The point is to explore a direction, find the best it has to offer, and move on.
What Changed From the Original Prompt
Let's say I started with that simple Civitai prompt:
1girl, blonde hair, blue eyes, standing in a field, white dress, simple background, looking at viewer, smile
After my process, the final image might be:
- A dark crimson-haired girl in a flowing ceremonial kimono
- Standing on a rooftop overlooking a neon-lit cyberpunk city at sunset
- Shot from a low angle with dramatic rim lighting
- Run through 4 rounds of img2img across 3 different checkpoints
- With LoRAs adding specific skin texture, fabric detail, and atmospheric haze
Nothing is left from the original except the core concept of "a girl." The prompt was just the spark. Everything else came from the splitting, the variation slots, the pattern-reading, and the img2img refinement.
That's why copying someone's prompt doesn't give you their results. The prompt is the spark of a 500-image journey.
The Three Doors Are All the Same Hallway
Here's the thing I want you to notice: this process is almost identical to the other two starting points.
- Starting from a reference image → crop → tag → enhance → split → generate → pick → img2img
- Starting from extracted tags → enhance → split → generate → pick → img2img
- Starting from a prompt (this tutorial) → split → add variations → generate → pick → img2img
The entry point changes. The middle and end are the same. That's why I call them three doors into the same building. No matter which one you walk through, you end up in the same place: generating hundreds of variations, reading the patterns, narrowing down, and polishing through img2img.
The prompt is never the destination. It's always just the first step.
Want to Build This System?
The prompt splitter and recipe tools I use for this process are available for Full Workshop members. The Prompt Insider tier gets you the enhanced prompt toolkit I use to upgrade prompts before splitting them.
If you're still copying prompts and hitting generate once, you're leaving 99% of the potential on the table.
Related Tutorials
Two Hard Rules For Blind Evals: 5-Prompt Floor And Always-Control
You ran a blind eval, picked a winner, almost shipped it — then a verification round flipped the result entirely. The candidate that won two of three prompts placed fourth across five. Three prompts felt like enough data; it was actually noise dressed up as signal. There are two specific design rules that prevent this failure: a hard floor on prompt count, and always including the previous version as a control. Cheap to apply, painful to ignore. Here's what each one buys you and the exact thresholds I use now.
Weighted Scoring — When Your 3/2/1 Tournament Hides The Real Winner
Your blind eval came back with two models tied at the top. 21 points each across 10 prompts under standard 3 / 2 / 1 top-3 ranking. Looks like a coin flip. It probably isn't. The standard scoring scheme treats 'never bombs' and 'wins more often' as equivalent — but for production model selection, those are very different qualities. Here's how to re-score the same data under different weighting schemes to surface the real preference, why ties under standard scoring often resolve cleanly when you reweight, and how to pick a scoring scheme that matches what you'll actually do with the result.
Multi-Round Merge Tournaments: Wide → Narrow → Dial-In
You ran a tournament with five candidate merges. Picked a winner. Shipped it. Two months later you wonder if the loser at slot 3 might have actually been better with slightly different weights — and you have no way to know without redoing everything. The fix is a multi-round tournament structure: wide net first, narrow on the winner's neighborhood, dial in along a single axis. Three rounds, ten or so total candidates, an answer you can defend. Here's how to design each round so the result is interpretable, not just a winner.